Getting Started with Web Bridge SDK
Getting familiar with the SDK
Characteristics of the SDK
Aspects of the SDK will depend on whether you choose to build with Custom Blocks or Custom Screens, however, several aspects remain the same regardless.
Composition of Solutions
The Web Bridge SDK is supported for Vanilla Javascript & React. There are two separate installation flows you will need to follow depending on your build format. More context will be provided in the relevant sections depending on if you are building a Custom Block or a Custom Screen.
Variables
The SDK can fetch inputs (contextual data) from the mobile app to learn more about a user's journey. Ultimately allowing the developer to personalize or conditionalize the experience around that user context. This could be data from that product they are viewing (if on a PDP) to the user's Shopify ID (if signed in).
App Actions
Let's say you would like to offer an interaction that writes back to the mobile app as an output (conduct an action). You can implement actions as easily as just calling a function in your Javascript, allowing you to add products to the native app's cart, or navigate a consumer elsewhere, reducing the total amount of business logic your solution needs to support.
SDK Version
The Web Bridge SDK is a versioned product, so remain aware of what version of the docs you are viewing at all times. New updates are issued when new variables & actions become available. These updates are posted in the Changelog.
Installing the SDK
Relevant if Building a Solution outside of the Tapcart Text Editor
If you are building a solution within the Tapcart Text Editor (within the Tapcart Dashboard), then you do not need to follow these installation steps. Currently the Tapcart text editor is only available if building a Custom Block.
Installing the SDK (For Liquid Sites)
For Liquid Sites
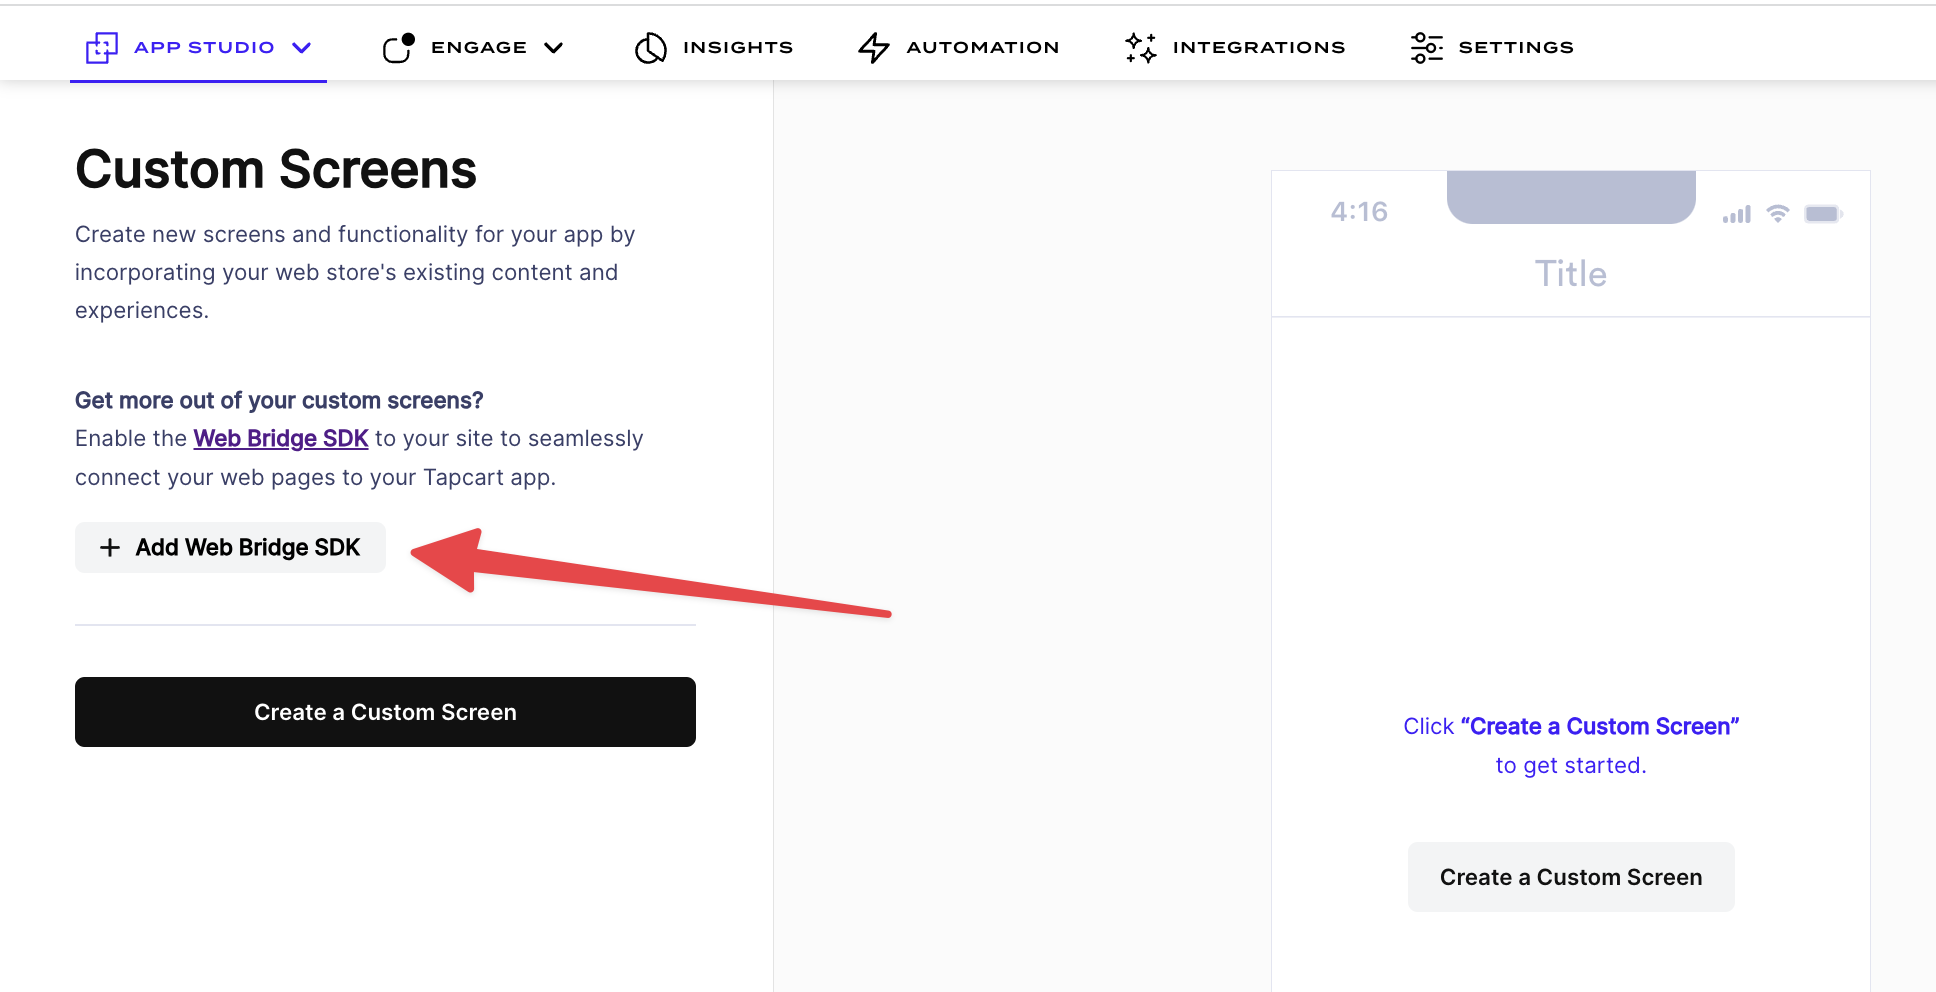
Installing the SDK on a Liquid site is as easy as one step. From your Tapcart app, go to App Studio >> Custom Screens >> select "Add Web Bridge SDK" for us to enable the SDK on your behalf.
If you prefer to add it manually, you can add the following script within the header of your Liquid theme.
<script src="https://cdn.tapcart.com/webbridge-sdk/webbridge.umd.js" defer></script>
For React Sites
-
Install the package via NPM or Yarn
npm install @tapcart/webbridge-reactyarn add @tapcart/webbridge-react -
Import the SDK
import { loadWebbridge, WebbridgeProvider } from '@tapcart/webbridge-react' -
Initialize the client and pass it to a Provider at the highest level of your web app (where Redux might live)
const webbridgeClient = loadWebbridge({ test: false }) export default function App() { return ( <WebbridgeProvider webbridgeClient={webbridgeClient}> ... </WebbridgeProvider> ) } -
Use actions/variables using hooks
import { useActions, useVariables } from '@tapcart/webbridge-react' const variables = useVariables(); const {addToCart,openProduct,openCollection,applyDiscount,removeDiscounts,showToast} = useActions(); -
Remove the header/footer from displaying
import { useVariables } from '@tapcart/webbridge-react';

const App = () => {
  const { loaded } = useVariables()

  return (
    <>
      {loaded && <header>Your Header</header>}
      {/* ... rest of your components */}
      {loaded && <footer>Your Footer</footer>}
    </>
  );
};

export default App;
Adding Conditional Behavior
If you are sharing hosted code between a Tapcart solution (Block or Screen) and your website, then you'll want to implement conditional behavior anywhere an Action is used. This allows you to share code, and maintain a smaller total code base.
For example, if a user is on your website, and the user presses "Add to Cart" you're going to want to add that to the cart using a web flow. However, if a user presses "Add to Cart", and is in the app, then you'll want to add the product to the native app's cart (using an App Action).
Add to Cart Example
const hybridAddToCart = (params) => {
   if(window.Tapcart.isInitialized){
      window.Tapcart.actions.addToCart({...params})
   } else {
      ...default functionality
   }
}
Authentification
Authenticate through Shopify (Multipass)
If the web page implementing the SDK uses Shopify Auth, then users authenticated within the Tapcart app will be authenticated when arriving on the web view. The caveat is that the Shopify Account will need to support Multipass, and the Shopify Multipass integration (along with a provided Multipass token) will need to be enabled with Tapcart.
Authenticate using Customer Information (Custom)
If your authentication needs are not supported by Shopify Multipass, then Tapcart can provide you with context regarding who a user is, so that you can make your own assessment on how to best authenticate a user in the screen. Review the Customer Variables to see what's available to be used.
Building an Experience
When choosing a format to build in, it's ultimately going to come down to:
- How will users reach this experience?
- How immersive do I want this experience to be?
Build a Custom Block
Custom Blocks are modular & block-based by design. They make the most sense when adding additional information or experiences to an existing page in the Tapcart app. They should be objective based & purposeful, and should not be used to dominate an entire page typically.
Build a Custom Screen
Custom Screens are meant to 'take over' an entire page in a Tapcart app. They should be used when trying to offer an immersive experience or a total replacement for a page. Custom Screens are best used when you need to control every aspect of the experience.
Updated almost 2 years ago